Excerpt from Elizabeth’s book, “Growing Your Lavender Garden”
CLEANING YOUR LAVENDER BUDS
If you are working on a project that requires lavender buds rather than a bundle, you will have to clean it first. Here’s how; Lay out a tray, 20×20 sheet of paper, or bag that the buds will fall into, any will work. Take your bundle between your hands and move your hands back and forth over the buds of the bundle so they will start to fall off of the stems. You will continue to do this until all the buds are free from the stems. Keep doing this with bundles until you have the desired amount of buds on your paper. Pick out any stems that may have fallen with your buds. Just give it a little cleaning up. Now you will use a wire colander to sift the lavender dust from the buds. All lavender has lavender dust. It is cleaner and less of an allergen if you remove the dust. Put your buds in the wire screened colander and begin sifting the dust onto a paper or trash receptacle. You will not want to save the dust. There, that is all there is to it. You can use your buds directly or put them in a zip lock bag and seal it. This will retain the scent of the lavender and keep it fresh until you are ready to use it.
There are many choices available to you when deciding what you are going to use your lavender for, and when you are going to need it. You may want to save it until the holidays and make personalized holiday gifts, or if you have a special birthday coming you can save it until you are ready to use it.
Lavender buds will be the base of your potpourri all else will be the compliment and accent to enhance the visual bowl of lovely flowers. Have you ever noticed when spring comes all the surprises in your garden? There are new flowers perfect for drying or using fresh and adding to your lavender potpourri.
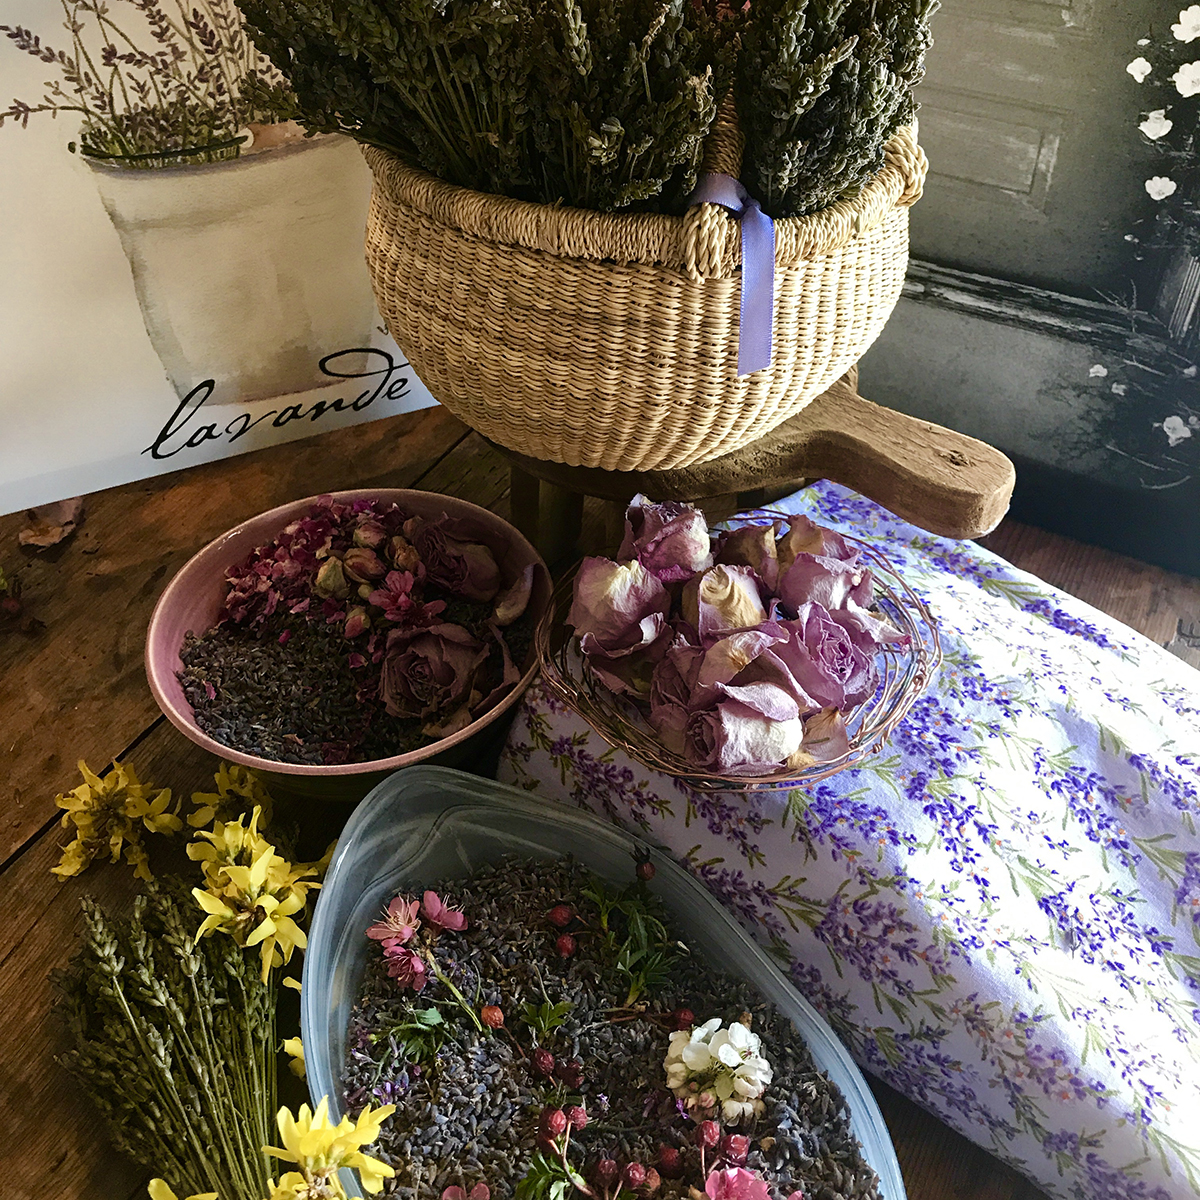
Lavender Potpourri – Scenting your room
Lavender Potpourri
1 -2 cups of lavender buds.
5 drops of lavender essential oil (optional)
Dried Rose petals
Dried Rose hips
Dried herbs from your garden (anything that looks pretty)